est.1904
Course Overview
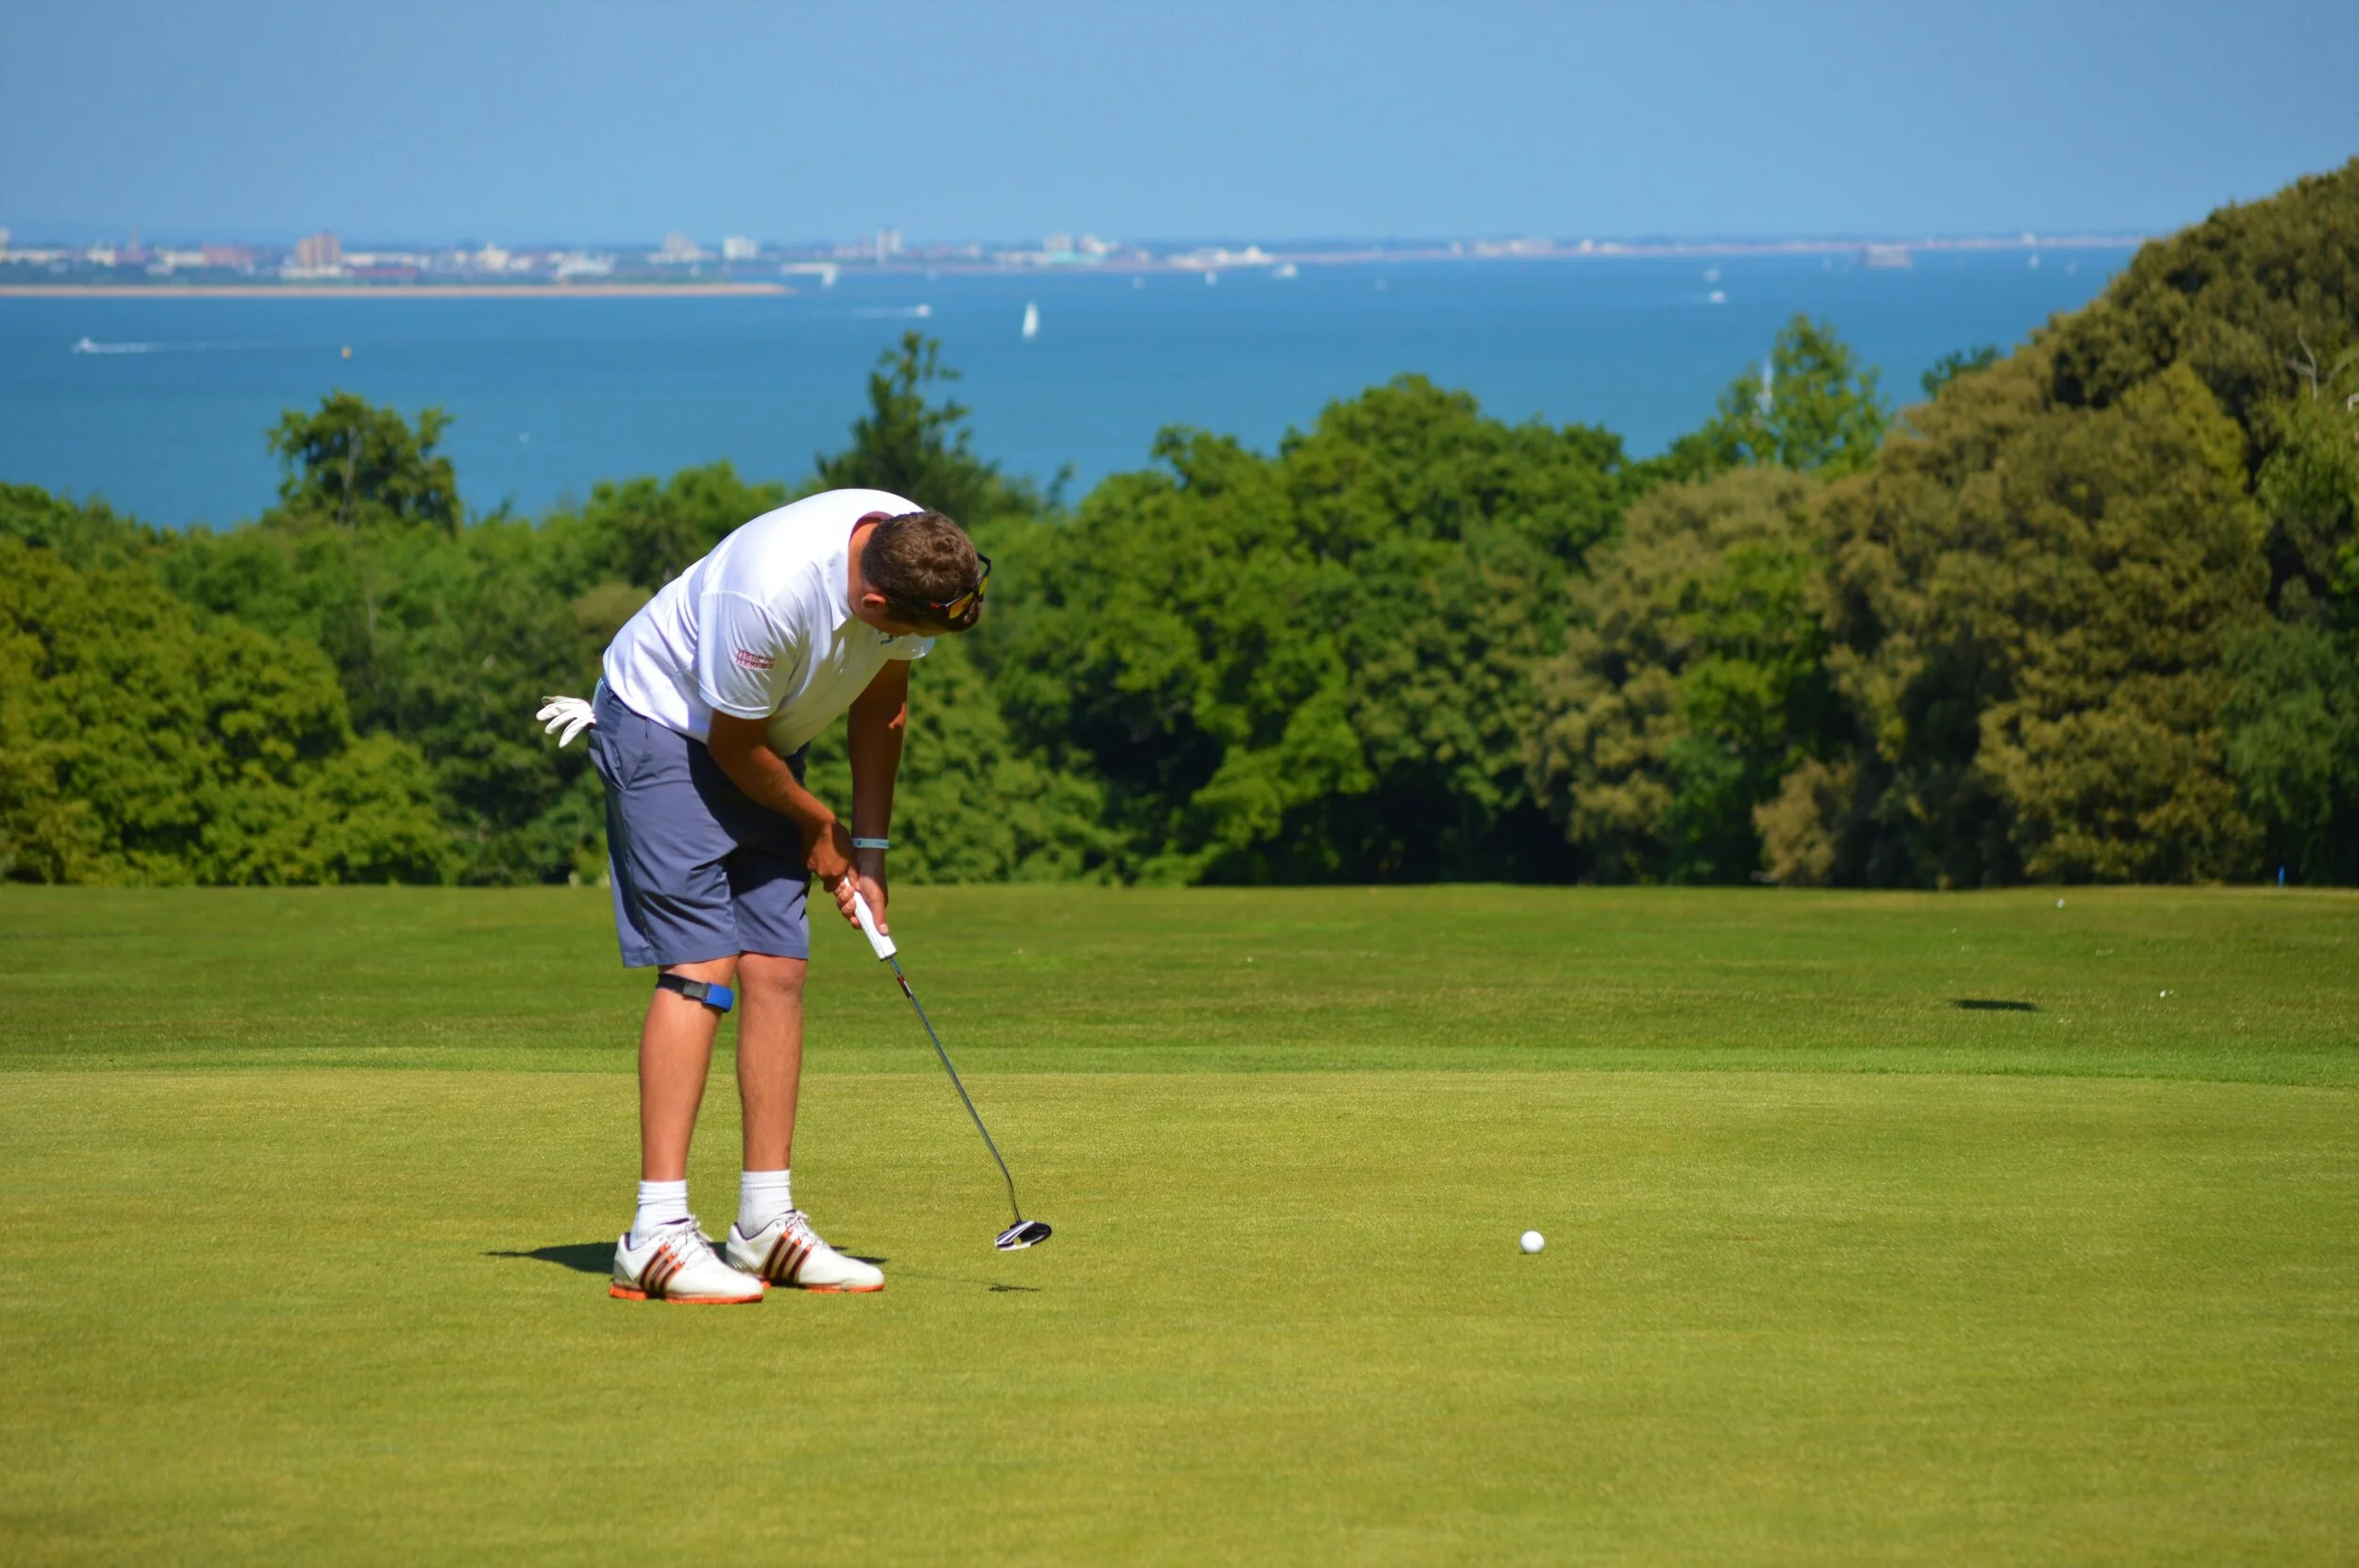
Our hole by hole overview of the Islands most historic course

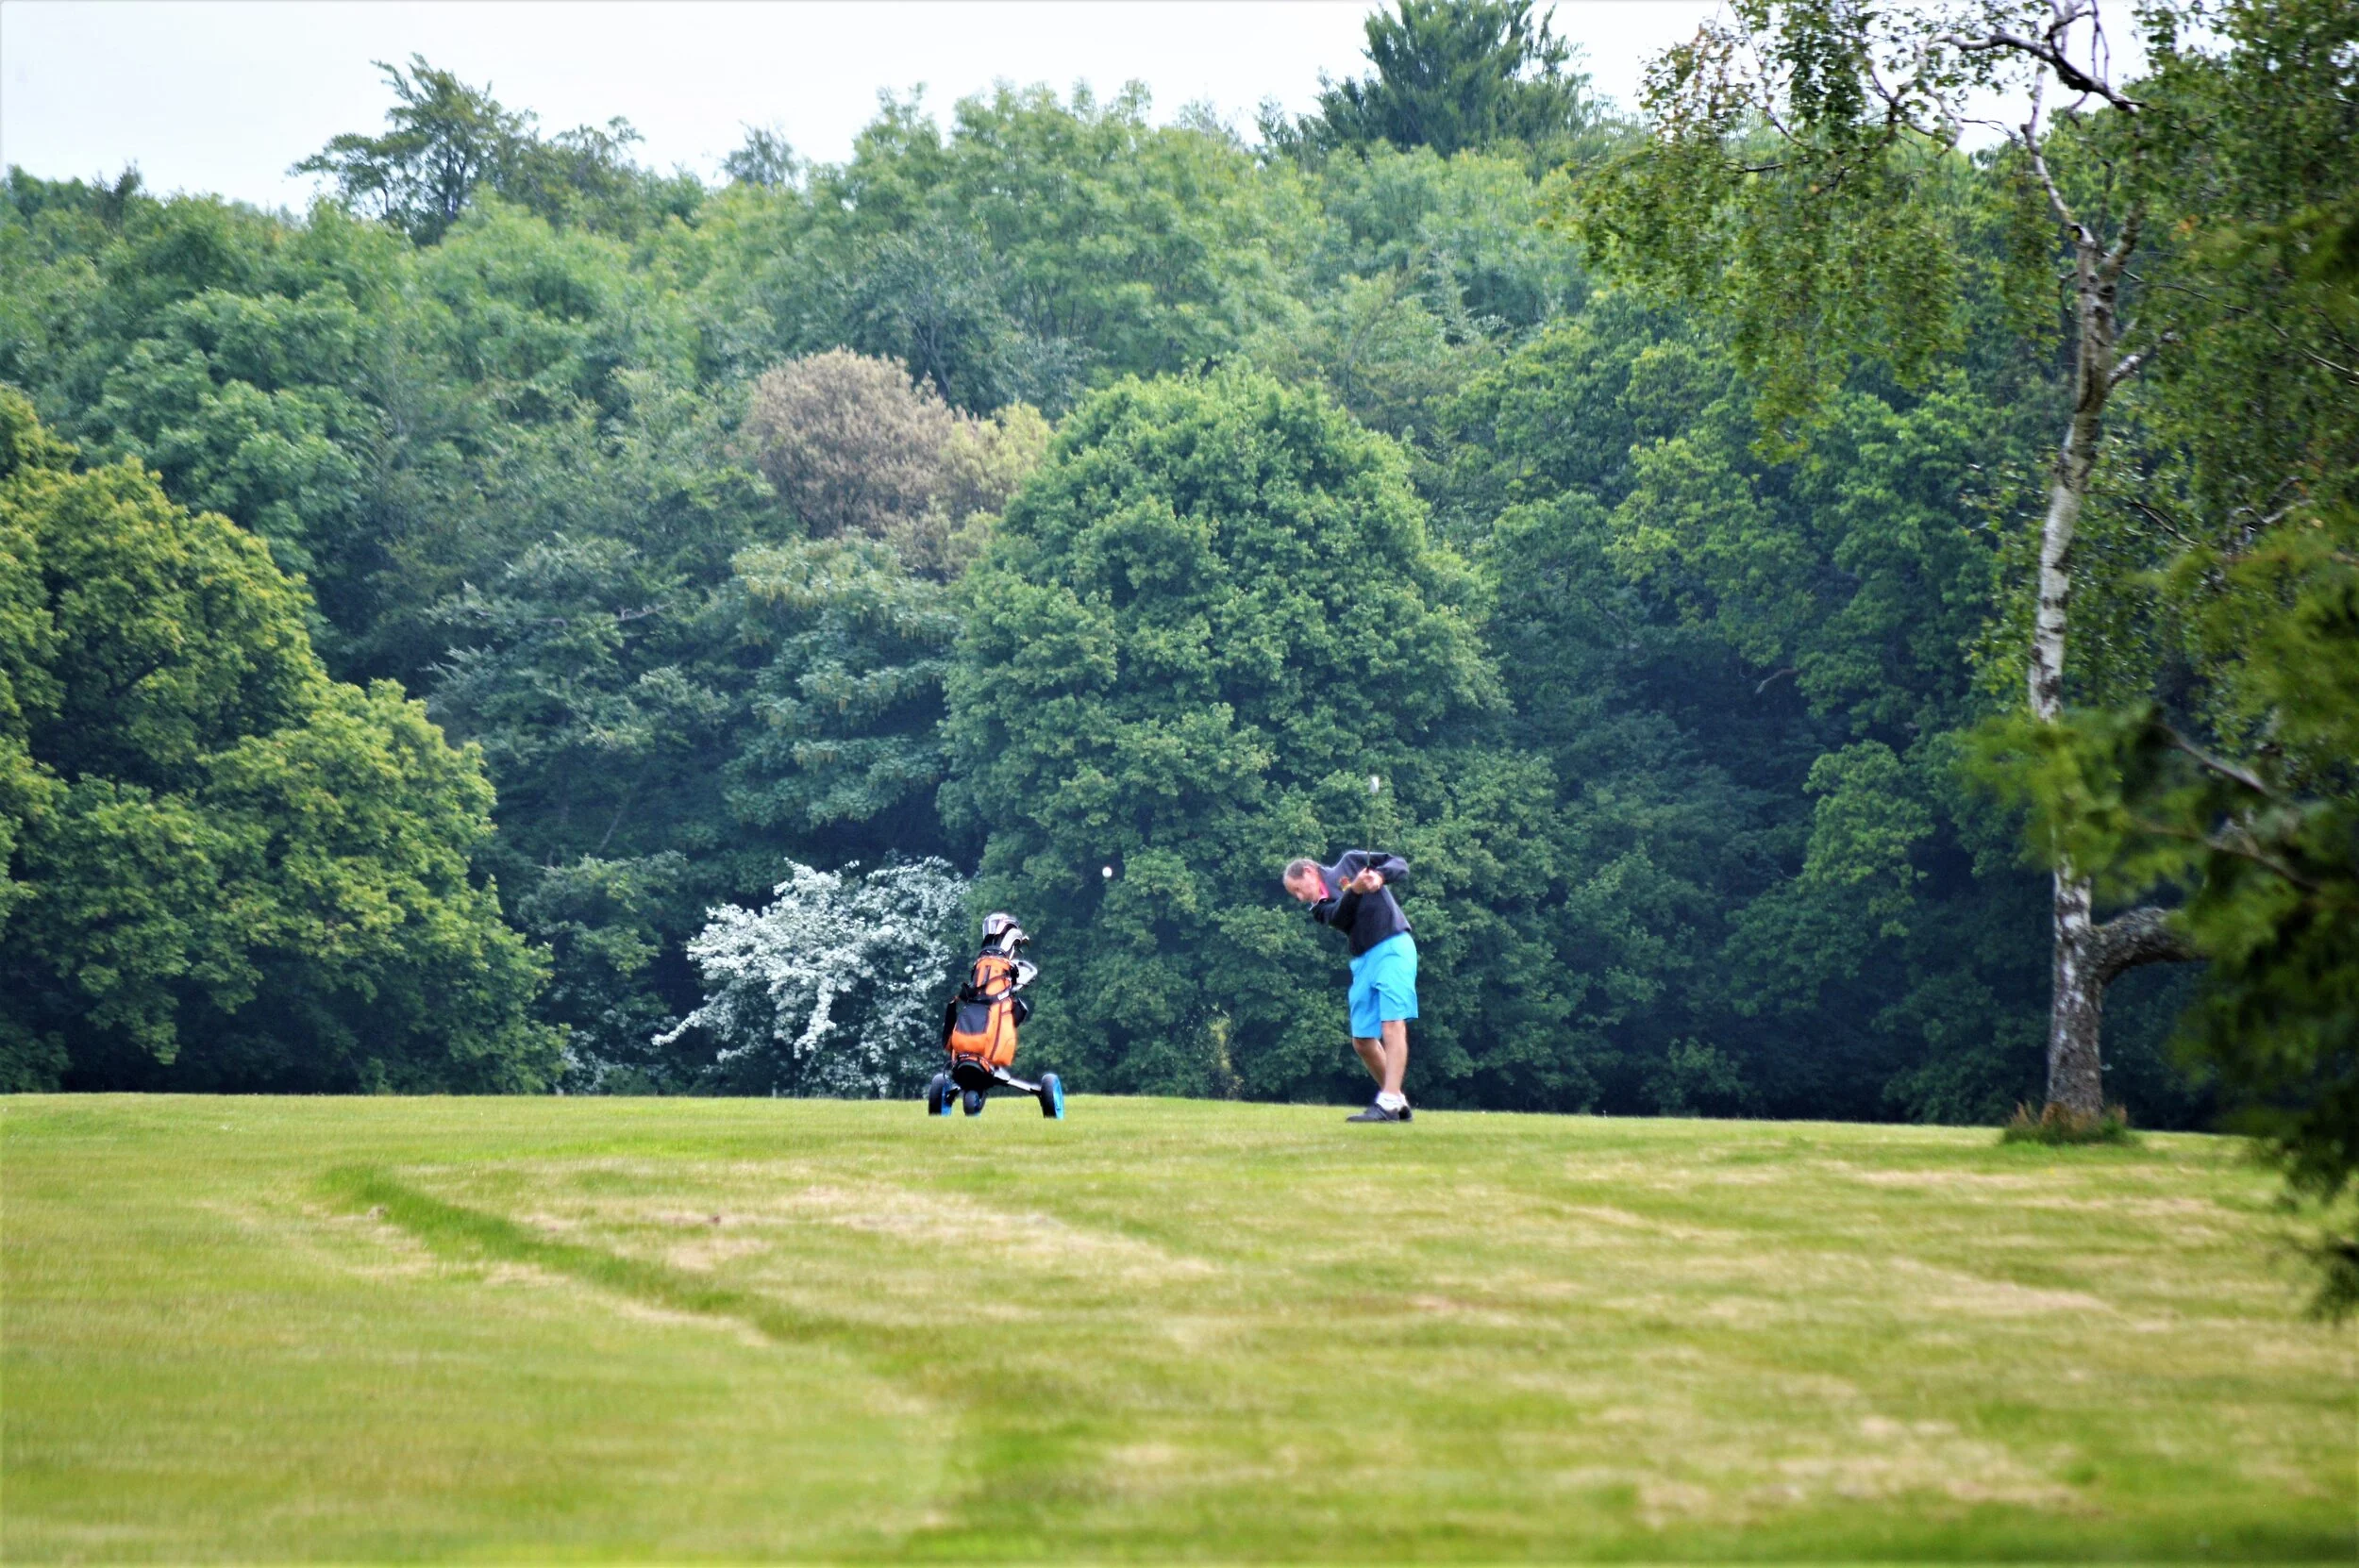
Osborne is both a challenging and long golf corse with some highly unusual features. Pack your driver and watch out for the ghost of Queen Victorias pet Elephant.
Please note Osborne has some local rules to be aware of and please avoid slow play.

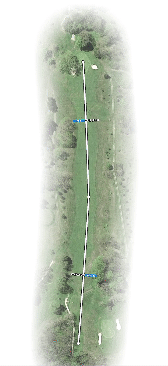
Par 4
Stroke Index 7
Yardage:
424 yds White
410 yds Yellow
366 yds Red
Par 4
Stroke Index 8
Yardage:
416 yds White
402 yds Yellow
379 yds Red
Hole Advice
The hole is a right handed dog leg, so favour the left hand side of the Fairway, or if you are a big hitter (230 yards or more) you can go over the trees.
The left hand side is out of bounds and protected by a a ditch.
The green is guarded on the left and right by shallow bunkers.
If the alternate green is in play its best to play down the left hand side and go over the hump.

Par 5
Stroke Index 5
Yardage:
555 yds White
540 yds Yellow
528 yds Red
Par 5
Stroke Index 6
Yardage:
555 yds White
540 yds Yellow
451 yds Red
Hole Advice
This is a long, straight par five, however favour the the middle left hand side for your initial drive. This eliminates the fairway bunker at 180 yards on your right and the two small hidden bunkers on the left.
The fairway is a little left to right for the middle part of the hole so stay left for your second shot as you can easily end up in the trees on the right.
The green is protected by three bunkers with the front left being fairly steep.
The green is fairly flat and pin position is usually middle / front, aim for the flag with approach.

Par 3
Stroke Index 11
Yardage:
193 yds White
170 yds Yellow
180 yds Red
Par 3
Stroke Index 13
Yardage:
180 yds White
170 yds Yellow
160 yds Red
Hole Advice
This par 3 is harder than it looks, at 193 from the third hole tee position an accurate shot is required. The wooden hut is a good target.
The green has a severe right to left slope. There is a bunker on the left and another bunker on the top right of green.
A good miss is to the left of the hole, while the rough looks intimidating its a better shot than coming downhill.
This hole normally plays into a headwind making it an even tougher.
Par 4
Stroke Index 3
Yardage:
394 yds White
383 yds Yellow
331 yds Red
Par 4
Stroke Index 4
Yardage:
394 yds White
383 yds Yellow
386 yds Red
Hole Advice
This is a good straight uphill par 4 and with SI of 3 and 4 a good opportunity for some points.
Keep to the centre of the Fairway with your drive, the slope will tend to push shots out right.
When you reach the top of the hill a view to the green will reveal bunkers to the left and right.
This hole can play long as it is normally played into wind.

Par 4
Stroke Index 15
Yardage:
362 yds White
351 yds Yellow
347 yds Red
Par 4
Stroke Index 16
Yardage:
362 yds White
351 yds Yellow
296 yds Red
Hole Advice
This can be a deceivingly awkward hole, it’s easy to get in to trouble especially on the right.
The pin position is key to the approach shot.
Aim to the left of the white marker in the distance on this slight dog leg right.
This will put you in a good position to attack the pin on the narrow two-tier green.

Par 3
Stroke Index 17
Yardage:
142 yds White
131 yds Yellow
127 yds Red
Par 3
Stroke Index 18
Yardage:
124 yds White
116 yds Yellow
111 yds Red
Hole Advice
This intimidating par 3 is protected by well placed bunkers and the green slopes left to right.
Before you take your shot cast an eye towards the 8th green to take note of the pin position.
A good miss here is towards the left as the right slopes towards out of bounds.
The green slopes left to right, watch chips onto the green.

Par 4
Stroke Index 1
Yardage:
432 yds White
416 yds Yellow
415 yds Red (Par 5)
Par 4
Stroke Index 2
Yardage:
432 yds White
416 yds Yellow
387 yds Red (Par 5)
Hole Advice
With an SI of 1 and 2, this is the hardest hole on the corse. A long par 4 with a right hand dog leg.
Position is everything on this hole, aim your tee shot towards the marker post as the Fairway slopes right to left.
Aim your second shot at the white marker which can be seen from the top of the hill. The fairway slopes downhill right to left to the green set in a hollow.
Beware of the elephant bath to the right, there is a hidden pot bunker on the left.

Par 4
Stroke Index 14
Yardage:
354 yds White
342 yds Yellow
415 yds Red (Par 5)
Par 4
Stroke Index 12
Yardage:
354 yds White
342 yds Yellow
415 yds Red (Par 5)
Hole Advice
A fairly straight forward, but deceptively long par 4, always plays longer.
Aim to the middle of the Fairway on this uphill hole.
The green is flat and mostly unseen so aim at the flag on your approach shot.
Beware of the two bunkers on the top right hand side of the green and the tree to the left.

Par 4
Stroke Index 10
Yardage:
356 yds White
351 yds Yellow
285 yds Red
Par 4
Stroke Index 9
Yardage:
352 yds White
349 yds Yellow
314 yds Red
Hole Advice
The ninth hole is the only left hand dog leg on the course.
Aim at the marker post, this will keep you left of the Fairway bunker and you will be in a good position for a clear shot to the green.
Watch out for the group of trees on the right, they have a gravitational pull.
Bunkers surround the front left and right of the green.